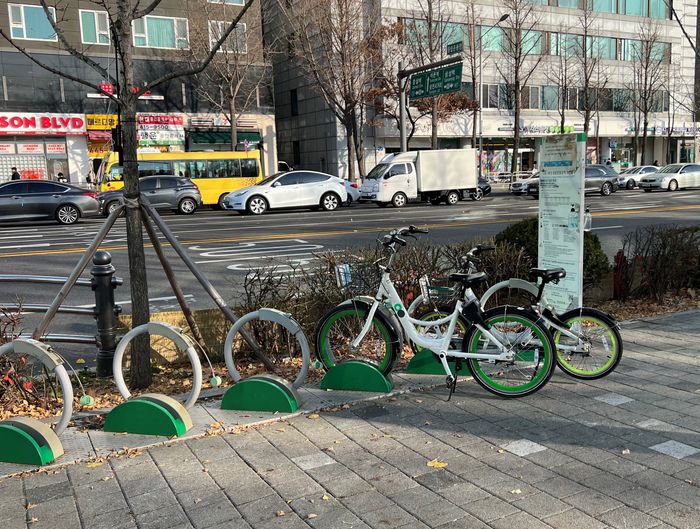
Seoul’s bike sharing service, Seoul Bike, or Ddareungi (따릉이), has been around a few years. You can’t go far in Seoul without noticing the green and white docking stations and bicycles. I’ve only started using it recently because where I used to live wasn’t as good for cycling; north of the Han River, a lot of neighborhoods have narrow sidewalks and hills.
Now I live in the southeast of Seoul where roads and sidewalks are wider and the land is flat, so Ddareungi has become a key part of my transport solution. I use it when walking would take more than 15 or 20 minutes, I use it to avoid going down into the subway and out again just for one stop, and I use it to get some light exercise. One of my favorite rides is from Jamsil, along the riverfront, to Apgujeong to get brunch.
How to Use Seoul Bike
There are a couple of official videos that show people how to use the service:
Those videos are a good start, but I have some tips and screenshots for further guidance.
When you open the Seoul Bike/Ddareungi app, the initial screen gives three options: 회원, 비회원, and Foreigner.
회원 (member, as in, to become a member)
With this option, Koreans and longer-term residents can get a membership that spans months. I was able to join for a whole year for 30 000 won. If you have a resident registration card (주민등록증) or an alien registration card (외국인등록증), and you can navigate some Korean language, that option is available to you.
비회원 (non-member, as in, you don’t want to become one)
Via this option, Korean residents can rent a bike for one or two hours at a time as many times as they like within a 24-hour period (at 1000 and 2000 won respectively). When the rental hour or two is nearly up, nothing stops the rider from returning the bike and unlocking it again immediately.
Foreigner
Choose this option for English guidance and if you only have a foreign credit card to pay with. I couldn’t test it with a Korean bank-issued card. In addition to the one- and two-hour options mentioned in the previous section, you can also choose 24 hours (at 5000 won). Choose the latter option if you want to skip the return and unlock process every hour or two. After paying, you will receive an email with a code that you use to log in.
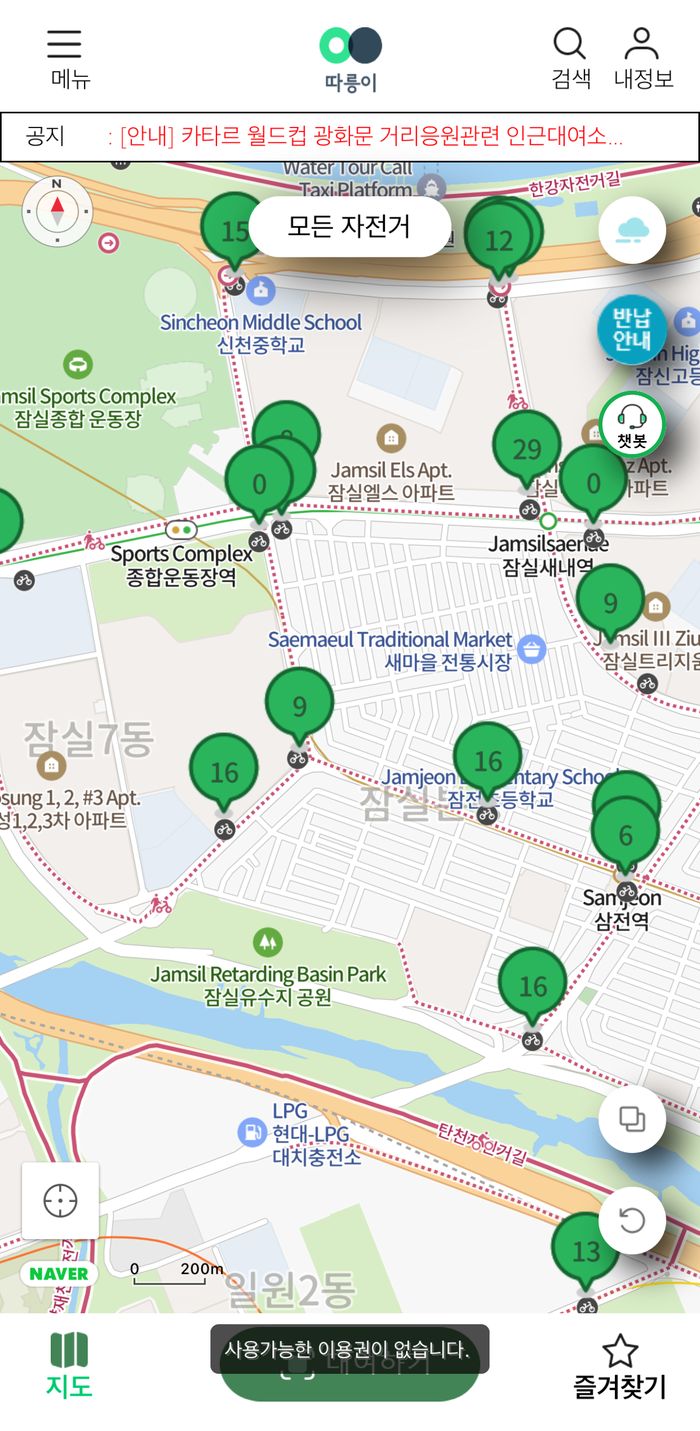
As per the ‘how to rent’ video posted above, the next steps are not difficult. One good thing to know is that after scanning the QR code, you may find your bike is unrentable. In that case, a small message will appear briefly near the scan button like this:
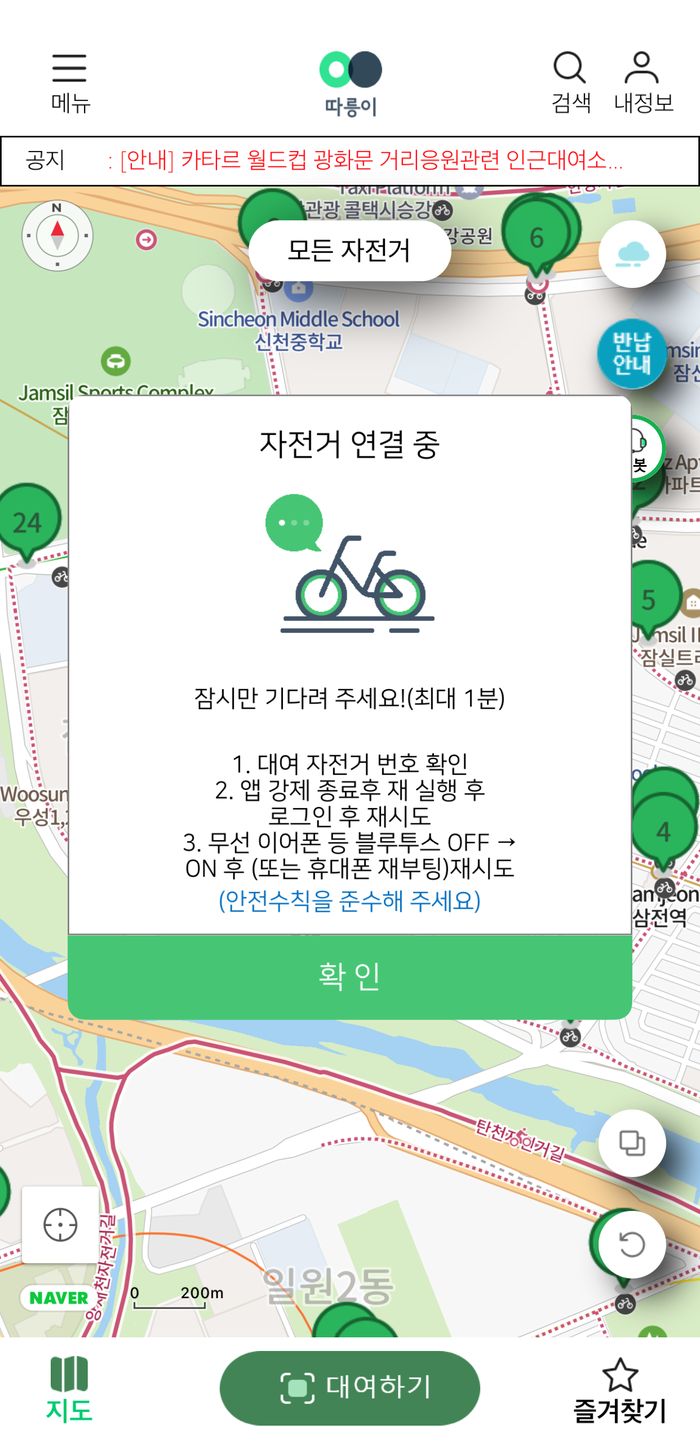
If, in contrast, a big square message appears in the middle of the screen, your bike is about to unlock:
Sometimes the message takes a while to appear, or the bike doesn’t unlock immediately. It’s worth waiting at least 30 seconds because the system could be temporarily slow. If nothing happens for a while, try clicking the QR scan button again. If it opens the camera, you should scan again. If the camera doesn’t open, it could still be processing. If you are tired of waiting, close the app to start again.
Finally, when you return your bike, there may not be an available dock, but it’s okay as long as you park the bike near the dock. Also, remember to lock the bike before you walk off! They keep on charging you otherwise, and they might ask you to return to wherever you left the bike to lock it.